 Canadutch
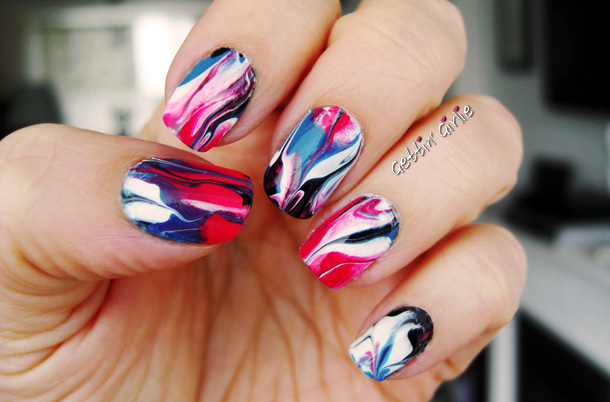
After seeing people talking about it everywhere, I really wanted to try the dry marble method on my nails. If you aren’t familiar with how it works, here’s a tutorial.
Looks easy, right? Omg, it’s so not!! Well, it is… but it isn’t. What I mean is, it wasn’t as easy as I thought it was going to be, and it took me ages! When I compare it to my water marble experience, it wasn’t so much easier that I decided to never try a water marble again. When I did the water marble, I didn’t use bottled water, which was my first mistake. I also used a container that was too wide so the polish spread out too much too quickly. I wasn’t really prepared so I ended up using a lot more polish than I planned to.
The thing is, I had the exact same problem with this method. I kept not getting the effect I wanted so it lead to me doing more and more patches. Once again I used almost an entire bottle of the different colors just trying to get it to work, and even still I wasn’t totally happy with the results. Ok I’m always fussy about how things turned out but when I use a crapload of polish on one design, I really want it to knock my socks off!
I think there are a few things I would do differently the next time.
- I would let the base polish dry a little more next time as I kept ending up with the problem where the marbled polish would get wet or smudge through when I was trying to press it on.
- I wouldn’t press and rub at it as much because it ended up smudging pretty badly in some places even though the polish was dry.
- I would take it easy with the toothpick during the marbling process because some bits were way too mixed and smushed together.
- I would wait until the polish and the marbled pieces have dried together before trying to cut around the edges. Again, too much poking around with the polish underneath lead to disaster in some areas.
If I’m honest, I think I preferred the water marble. It was just more fun! It also took just as long or longer if you count the drying time. I spent hours trying to get this stuff cut out and added to my nails, no less time than it took me to get the water marble done. I will try it again in the future, just to see if it’s easier after I iron out a few of the kinks.
Products Used:
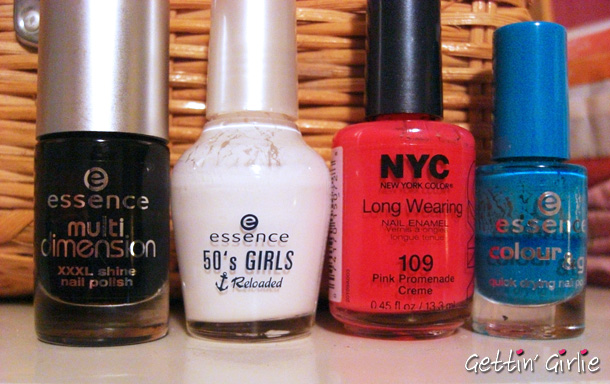
Essence Nail Art Protection Base Coat
Essence Multi Dimension XXXL Shine Fatal
Essence 50’s Girls Reloaded AHOY!
NYC Pink Promenade
Essence Colour & Go Let’s Get Lost
Seche Vite Topcoat
This is so amazing! I love it a lot. I HAVE to try this soon.
I like the way it turned out, I think it looks pretty awesome. But I can totally see it being a PITA. Part of the reason I haven’t tried it yet. It does look great though!
What a sad experience – and precisely why I’m so hesitant to try it out myself honestly. I’ve seen marbling where you paint on three stripes of colors directly to your nails and then marble right on the nail. Maybe a better technique? I do like your thumbnail though! They didn’t all smudge, which is nice <3
Yeah I just didn’t find this fun at all. I have also seen the tutorial for doing the marble right on the nail and I think that might be a lot easier than this dry marble technique. I may try it again at some point just to see if it gets easier with practice, but not anytime soon!